
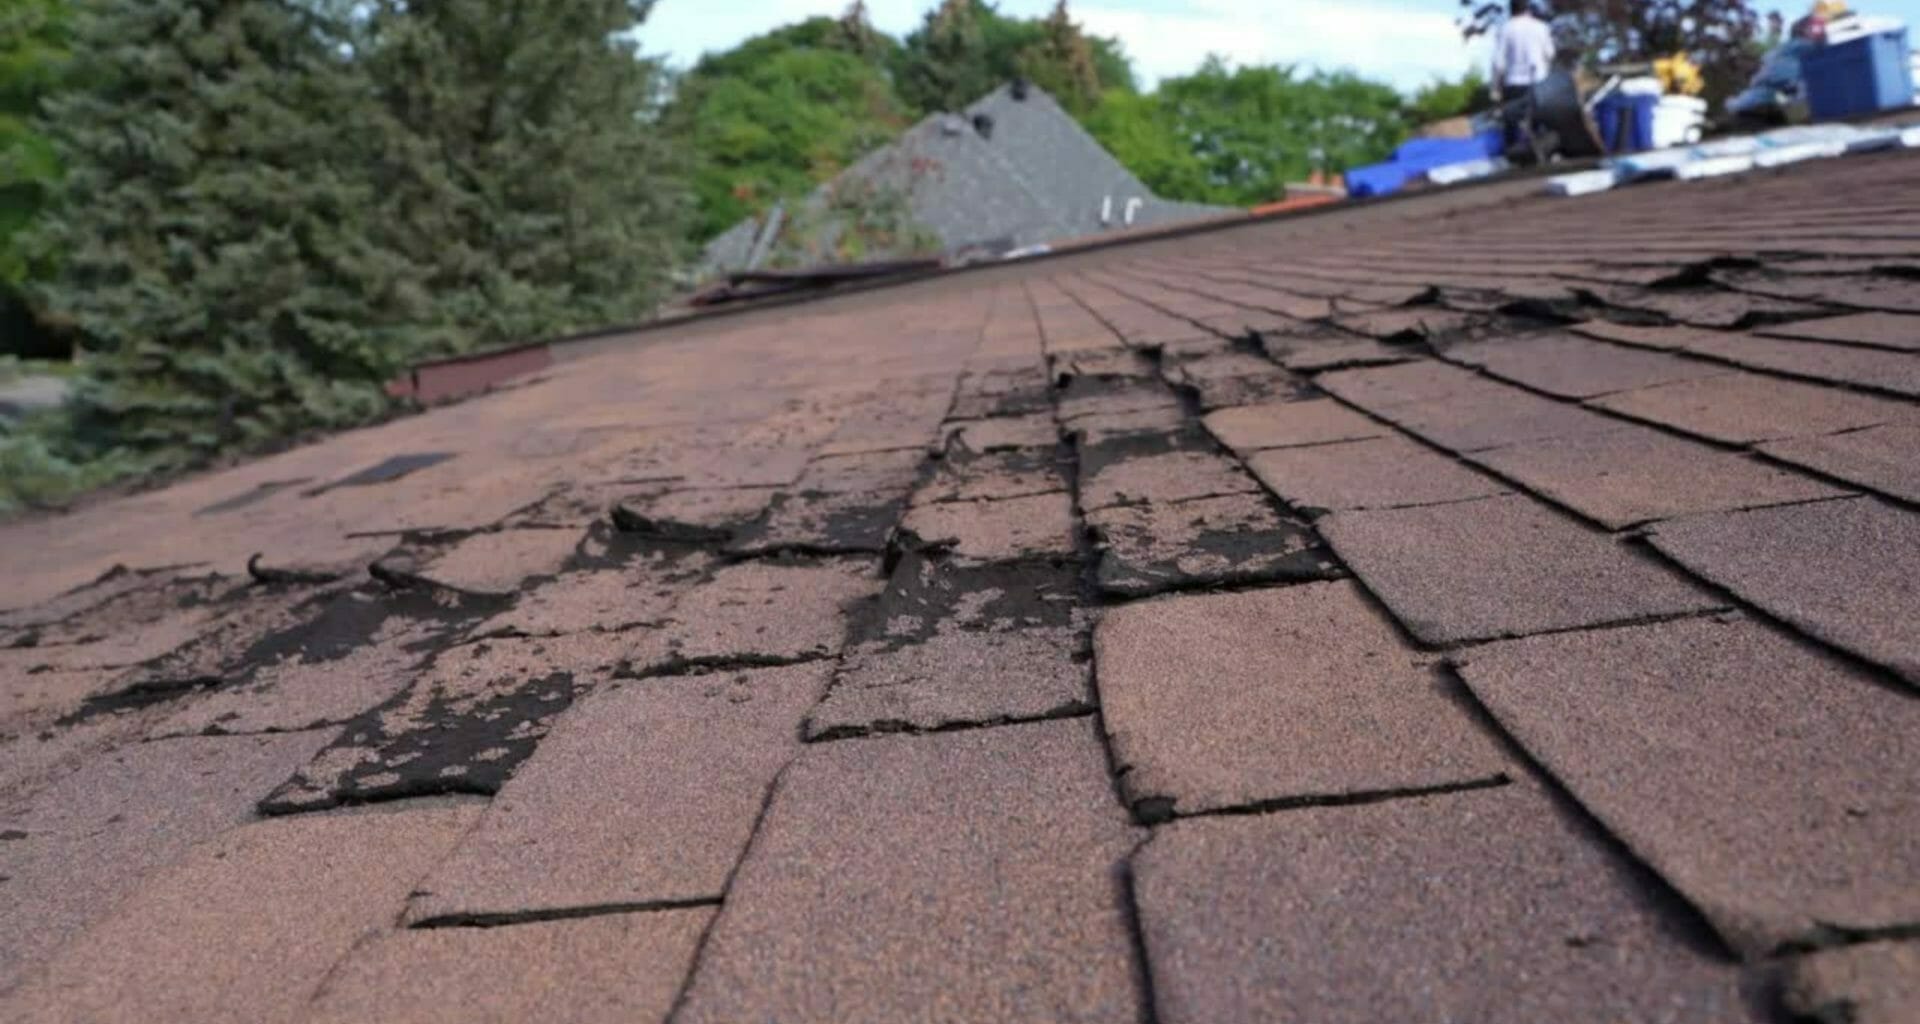
A tarp offers a quick and efficient solution when a roof is damaged — whether by a storm, falling debris, or unplanned leaks. However, even though it’s effective at stopping leaks, it’s still a temporary measure, with many homeowners asking: How long can you leave a tarp on a roof?
To help you learn how long a tarp can be kept on your roof, we will explore this answer in close detail, considering different aspects so you can make the right decision for your roof.
How Long Does A Tarp Last On A Roof?
Depending on the material, weather, and quality of installation, a tarp on a roof may last anywhere around 90 days to 2 years. While heavy-duty choices like vinyl are more resilient and can endure tough circumstances for up to two years, standard blue tarps only provide temporary protection for up to 90 days.
Also Read: Roof Blistering vs. Hail Damage: How to Tell the Difference
What Are The Risks of Leaving a Tarp on Too Long?
While you might be able to keep a tarp on a roof for 2 years, it’s not recommended. Leaving a tarp on for too long can cause serious problems, so let’s explore the risks of relying on it as a long-term fix:
1. Material Breakdown
Constant exposure to UV rays, wind, and rain weakens the tarp, leading to tears, holes, and thinning, which reduces its ability to protect the roof.
2. Water Leaks
As the tarp on a roof wears down, it may start letting water seep through, leading to leaks and further interior damage.
3. Structural Damage
Relying on the tarp for too long can delay necessary repairs, allowing roofing problems to worsen and increase repair costs.
4. Mold and Rot
Trapped moisture under or around a worn-out tarp on a roof can lead to mold growth and wood rot, weakening the roof’s structure.
5. Pooling Water
If the tarp on a roof is sagging or not secured properly, it can collect water, putting extra stress on the roof and increasing the risk of damage.
6. Higher Repair Costs
The longer you rely on a tarp on a roof, the longer damage is left to get worse, leading to more extensive and expensive repairs later on.
7. Safety Hazards
A damaged or loose tarp on a roof can be dangerous in storms or high winds, as it may detach and pose risks to people and nearby structures.
8. Poor Insulation
Putting a tarp on a roof doesn’t provide proper thermal protection, which means that if you fail to repair materials that aid in energy efficiency, a tarp won’t stop you from paying higher energy bills and dealing with discomfort during extreme weather.
Also Read: Everything Homeowners Should Know About Winter Roof Damage in 2025
What Are The Different Factors That Affect How Long a Tarp Can Stay on Your Roof?

You may be wondering why the range is so wide for leaving a tarp on your roof. This is due to a few factors that impact how long a tarp remains effective on your roof:
1. Material Quality
The type of material determines how long a tarp lasts. Heavy-duty tarps made from vinyl or UV-resistant fabric handle harsh weather better than basic polyethylene tarps, which break down faster when exposed to sun and moisture.
2. Weather Conditions
Extreme weather affects how well a tarp holds up. Too much sun can make it brittle, heavy rain or snow can weigh it down and cause sagging, and strong winds may tear or loosen it if not secured properly.
3. Installation Matters
A tarp’s durability depends on how well it’s installed. A properly secured tarp that is tightly fastened to the roof will hold up better against wind and water than one that is loosely placed or poorly sealed.
How To Tarp A Roof Without Nails
If you’re wondering what is the best way to put a tarp on a roof without nailing it into place and creating more holes, here’s a simple step-by-step guide to help you do it right:
| MATERIALS | TOOLS |
| Tarp Clips | Measuring Tape |
| Bungee Cords | Utility Knife |
| Sandbags | Brush or Broom |
| Ladder and Safety Harness | Heat Gun (optional) |
Step #1. Ensure Safety First
Before starting, check the weather and make sure it’s safe to work. Wear non-slip shoes, use a roof harness if possible, and set up a sturdy ladder on stable ground to avoid accidents.
Step #2. Inspect the Roof
Look for damaged spots where leaks may occur. Clear away dirt, debris, and broken shingles to create a clean, dry surface for installing the tarp.
Step #3. Pick the Right Tarp
Measure the damaged area and add a few extra feet on all sides for full coverage. Choose a strong, weather-resistant tarp on a roof, ideally one with a self-adhesive backing or suitable for alternative securing methods.
Step #4. Position the Tarp Properly
With help, spread the tarp over the damage, making sure it extends at least 4 feet beyond the affected area on all sides. This extra coverage keeps water from seeping underneath.
Step #5. Secure Without Nails
If using a self-adhesive tarp, peel off the backing and press it firmly onto the shingles. Otherwise, use tarp clips and bungee cords to fasten it to sturdy points, or place sandbags or 2x4s along the edges for extra weight and stability.
Step #6. Check for a Tight Fit
Smooth out any wrinkles to prevent water from pooling, which can lead to leaks. Double-check that all edges are secure so the tarp can withstand wind and rain.
Step #7. Plan for Permanent Fixes
A tarp is only a temporary solution. Once it’s in place, schedule repairs with a professional roofer as soon as possible to avoid further damage.
Alternatives to a Tarp for Roof Protection
If a tarp isn’t the best option for your roof, here are some alternative solutions for temporary protection:
1. Professional Emergency Roofing Services
Bringing in professionals ensures that temporary solutions like tarps or sealants are properly installed, preventing further damage. With the right tools and expertise, they can assess the situation and prepare your roof for long-term repairs.
2. Temporary Roof Sealants
For small leaks or cracks, roofing cement and silicone-based sealants create a waterproof barrier, offering immediate protection. However, these are only short-term fixes and should be followed up with professional repairs to maintain the roof’s strength.
3. Roof Repair Patches
Using materials like shingles, specialized tape, or roofing cement, patches can temporarily seal holes or leaks. While they help prevent further damage, they should eventually be replaced with permanent repairs for lasting protection.
Who Can Put A Tarp On My Roof?
A professional is the best choice for installing a roof tarp, as they make sure it’s properly placed, enhancing safety and providing reliable protection against further damage.
For Fast & Effective Roof Tarping Services – Contact OConnor Contracting!
When unexpected roof damage occurs, a fast and reliable solution is essential. To help out, at OConnor Contracting, we offer expert roof tarping services to protect your home from further harm. Our experienced team responds quickly, ensuring secure and professional tarp installation. Using high-quality materials and careful techniques, we provide strong, temporary protection, giving you peace of mind while you plan for permanent repairs. Trust us to keep your home safe, and give us a call at (716) 600-7663 today!
Related Articles
-
 October 21, 2025When Should You Tarp Your Roof After Storm Damage?Not sure when to tarp your roof? Learn the warning signs and how to prevent water damage with effective emergency tarping methods.
 -
 October 30, 2024When to Call for a Roof Inspection After a StormOnce a night of heavy wind and rain has passed, you might step outside your home to find branches scattered, with a feeling that your roof might be damaged. Harsh storms can cause serious harm to homes, and the roof often takes the worst of it. Nearly 45–55% of all homeowners insurance claims are related […]
 -
 June 8, 2022What To Do When Roof Storm Damage Affects Your HomeBuffalo is one of the most prominent cities in one of the most beautiful and popular states in North America, New York. The second-largest city of New York is home to many tourist attractions. But despite all these, Buffalo is also known for some of the harshest winters and storms. If you are a homeowner […]
Protect Your Home with Expert Roofing
Don’t wait for leaks or storm damage to cause costly repairs. Our experienced roofing team provides fast, reliable service, high-quality materials, and lasting results. Ensure your home stays safe, secure, and looking great—contact us today for a free estimate.


