When the skies open and heavy rain falls, the last thing anyone wants is water leaking into their home. Roof leaks during these heavy downpours can cause major structural damage, promote mold growth, and result in costly repairs if not tackled immediately with care.
As a homeowner knowing the common causes of roof leaks and how to handle them can save you time, money, and any unnecessary stress. To help you out, let’s delve into this blog post and take a look at the common causes of roof leaks in heavy rain.
Also Read: Do’s and Don’ts When Dealing with Apartment Roof Leaks
Top 9 Causes Of Roof Leaks In Heavy Rain With Their Fixes
#1. Clogged Gutters and Downspouts

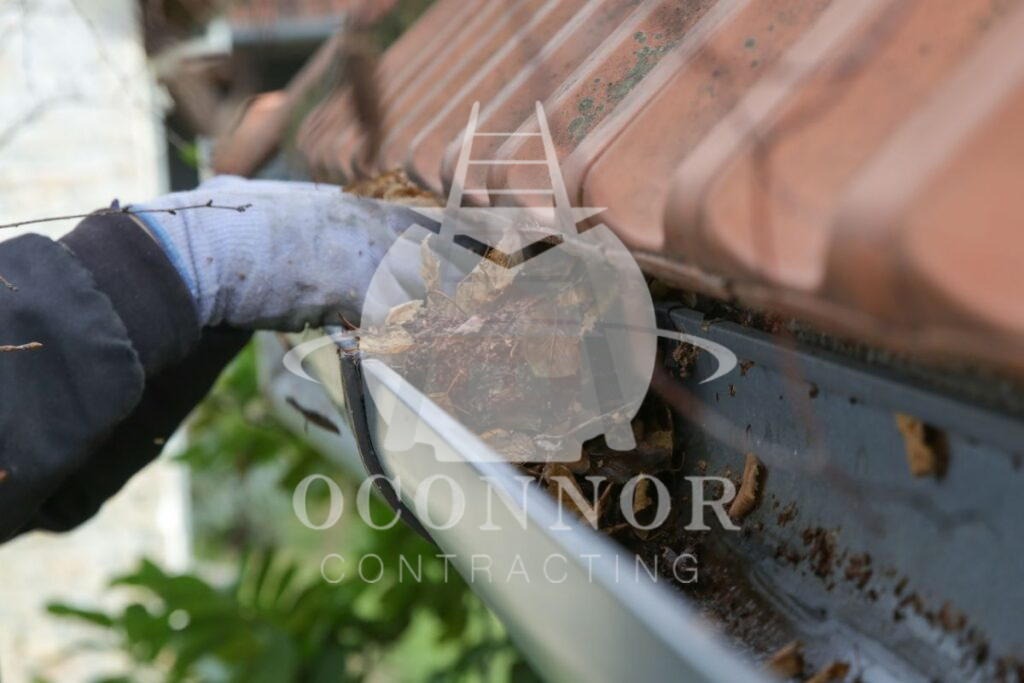
During heavy rains, clogged gutters and downspouts can cause major roof leaks. When your home’s drainage system is full of leaves, twigs, and other debris, it is unable to channel water away from your roof and foundation efficiently. This can cause water buildup, which may then pass through the roof, resulting in leaks and potential interior damage.
How to Fix It
- Regular Cleaning: Clean gutters and downspouts twice a year (in the spring and fall) and remove debris.
- Gutter Guards: Install guards or covers to prevent large debris from entering gutters.
- Downspout Extensions: Extend downspouts away from the foundation to direct water away.
#2. Missing or Damaged Shingles

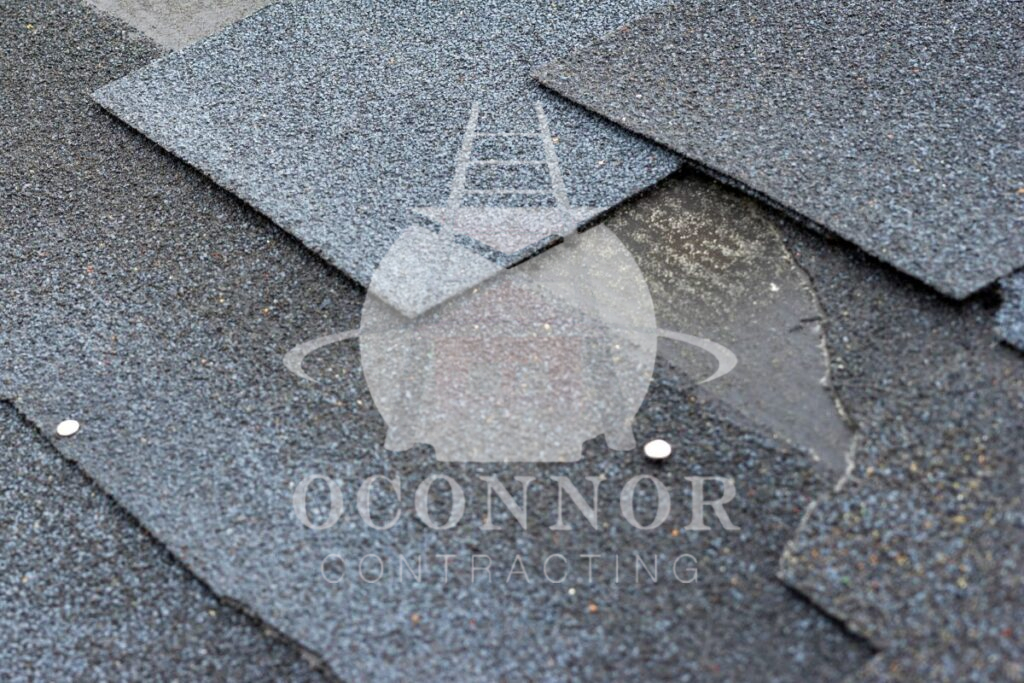
Missing or damaged roof shingles are a common cause of roof leaks in heavy rain. Without intact shingles, the roof loses its protective barrier against the elements, creating openings through which water can infiltrate and leading to leaks within the home and attic.
How to Fix It
Replacing Damaged Shingles:
- Carefully lift the damaged shingle and remove the nails holding it in place.
- Replace it with a matching new shingle, apply roofing sealant, and securely nail it down.
- Nail down overlapping shingles to secure the area.
Repairing Cracked or Curled Shingles:
- For cracked shingles, apply roofing sealant under and over the crack, then sprinkle loose granules over the sealant.
- For curled shingles, apply sealant under the curled area and weigh it down with a brick until dry (about 24 hours).
If the damage is major, replacing the entire roof may be a better option.
#3. Cracked Flashing
Flashing, typically made of thin metal or plastic, is installed around roof penetrations like chimneys, vents, and skylights to establish a waterproof seal and prevent water from infiltrating the home’s interior. However, as flashing ages, it can develop cracks, wear out, or sustain damage, compromising its ability to keep water out during rain.
How to Fix It
- Replace Damaged Flashing: Replace severely cracked or damaged flashing for a secure seal.
- Seal Cracks and Gaps: To prevent leaks, use high-quality roofing sealant to seal small cracks or gaps in flashing.
- Improve Roof Drainage: Use gutters and downspouts to direct water away from the foundation and prevent pooling near the roof edges, reducing flashing leak risks.
#4. Improperly Sealed Valleys
Valleys are where two roof slopes meet in a “V” shape. If these areas lack a proper waterproof membrane or flashing, water can penetrate the roof system, leading to damage to the structure, insulation, and interior of the building. Regular maintenance is essential to prevent water intrusion and costly repairs.
How to Fix It
- Apply a Waterproof Membrane: Install a waterproof membrane along the valley, extending it 12 inches on each side and ensuring proper overlapping with the roofing material.
- Install Valley Flashing: Use corrosion-resistant metal like aluminum or stainless steel for valley flashing if needed.
- Seal Edges: Use a compatible sealant to securely seal the edges of the membrane or flashing.
#5. Ice Dams

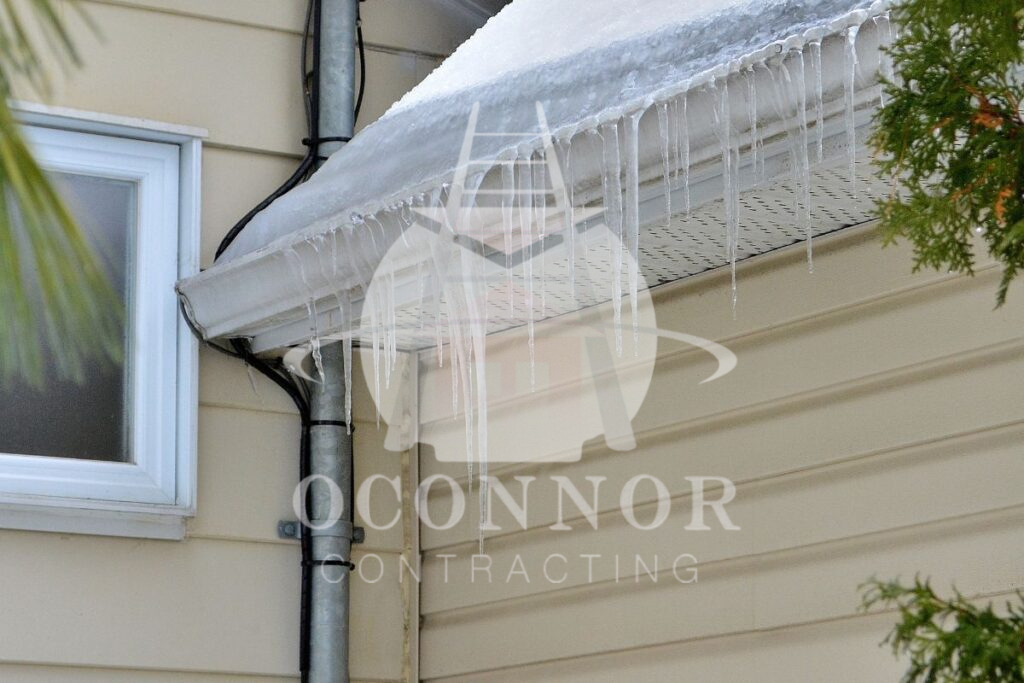
Ice dams are a buildup of ice at a roof’s edge, blocking melted snow drainage. Heat escaping through the roof melts snow, which refreezes at colder eaves, forming ice dams that prevent proper drainage. This can lead to water seeping into the home, causing leaks and damage.
How to Fix It
- Create Drainage Channels: Use calcium chloride or rock salt to melt ice dams, allowing water to flow off the roof.
- Install Heat Cables or Pads: Use heat cables or heated pads along eaves to prevent ice from forming.
- Remove Snow Carefully: Use a snow rake or soft-bristled broom to remove snow from the roof surface, preventing it from melting and becoming ice dams.
#6. Skylight Leaks
Skylights, while aesthetically pleasing, can often be a source of leaks in homes. Over time, the seals around skylights can deteriorate, allowing water to seep in during heavy rain.
How to Fix It
- Clean Skylight and Area: Remove dirt and debris around the skylight that could be causing issues.
- Inspect Flashing and Seals: Check skylight flashing and seals for gaps or holes and reseal with silicone caulk as needed.
- Check for Other Leaks: Consult a professional roofer to identify and address any separate roof leaks near the skylight.
#7. Roof Age and Wear
As roofs age, they become more susceptible to wear and tear, increasing the risk of leaks during heavy rain. Over time, roofing materials can deteriorate from exposure to UV radiation, temperature changes, and moisture. This can cause cracks, holes, and gaps, allowing water to seep into the building. Older roofs are particularly vulnerable to heavy rain leaks due to accumulated wear, making it harder to withstand harsh storms.
How to Fix It
- Regular Roof Inspections: Conduct inspections to catch potential issues early. A professional can identify leak-prone areas.
- Roof Maintenance and Repairs: Address minor issues promptly, like missing shingles or damaged sealants, to prevent major leaks and extend the roof’s lifespan.
- Roof Replacement: Consider replacing an aged or poor-condition roof to improve your home’s ability to withstand heavy rains and other weather conditions.
- Improved Roof Drainage: Ensure gutters and downspouts are clean and functional to prevent water pooling and potential leaks.
#8. Poor Roof Design or Installation
Poor roof design or faulty installation can lead to serious issues during heavy rain, causing water damage, mold growth, and other problems. Improper flashing, inadequate drainage, incorrect roof penetration placement (chimney and vents), and low-quality materials can all contribute to leaks.
Particularly flat roofs, though not entirely flat, have a slight slope (¼ inch to ½ inch per foot) for proper water drainage. Without this slope, water can pool, causing flat roof leaks in heavy rain, structural damage, and a shorter roof lifespan.
How to Fix It
- Hire a Professional: Consult a roofing contractor to assess and solve design or installation issues.
- Use High-Quality Materials: Choose durable, climate-compatible roofing materials suitable for your home design.
- Maintain the Roof: Clean gutters regularly, trim overhanging tree branches, and promptly address minor repairs to prevent bigger issues.
#9. Condensation and Poor Ventilation
Condensation on the roof’s underside or in the attic may cause roof leaks due to the deterioration of the roofing materials. A buildup of water results from the condensation of warm, humid air from living areas onto a chilly roof surface. The roofing components become weakened over time from excessive moisture, leaving gaps that let rainwater enter the attic.
By trapping warm, humid air in the attic or roof space, inadequate ventilation makes this problem worse and accelerates the breakdown of roofing materials. Managing temperature variations and preventing condensation-related roof leaks require both enough insulation and attic ventilation.
How to Fix It
Fixes for Condensation:
- Insulate the Attic Properly: Prevent warm, moist air from causing condensation by ensuring adequate attic insulation.
- Use Vapor Barrier: Install a water-proof vapor barrier between insulation and living spaces to block moisture.
- Control Humidity: Manage humidity with a dehumidifier or attic fans in moisture-prone areas.
Fixes for Poor Ventilation:
- Clear Existing Vents: Ensure vents are clear of insulation, debris, or nests to maintain proper ventilation.
- Improve Airflow: Consider installing a powered attic ventilator or solar-powered fan for better air circulation and moisture reduction.
- Seal Openings: Close gaps around vents, pipes, and attic openings to prevent air leaks and moisture intrusion.
Conclusion
Roof leaks during heavy rain pose frustrating and costly challenges. However, with a clear understanding of their causes and proactive steps to resolve them, you can safeguard your home and mitigate potential damages.
Protect your home with OConnor Contracting’s expert roof repair services. Our skilled team handles all roofing issues, from leaks to shingle replacement. Don’t wait – contact us today at (716) 600-7663 for a free inspection and experience top-quality, reliable roofing solutions.


