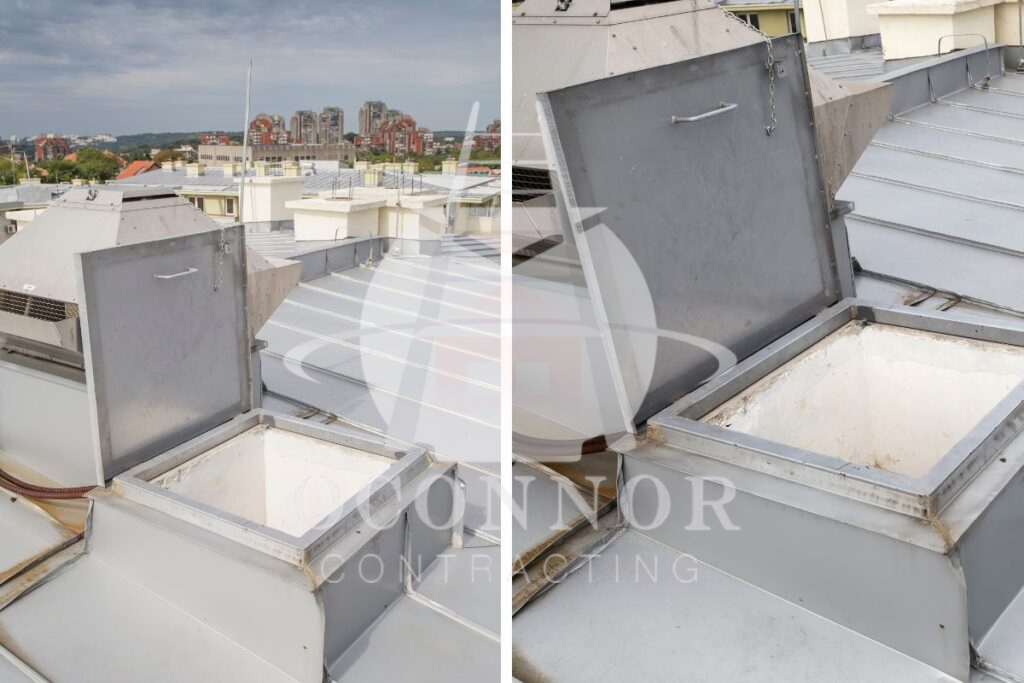
Ever looked at a tall building and wondered, “How do people even access that roof?” The answer usually lies in a simple yet crucial part of the structure: the roof hatch. These hatches provide safe and easy access to rooftops, whether for maintenance, repairs, or simply to enjoy the view. In this post, we’ll explore the different types of roof hatches, how they’re used, and the features that make them essential for building access.
What Is A Roof Hatch?
An access point placed on a building’s roof, specifically designed to provide safe and simple entry for emergency personnel and maintenance workers, is called a roof hatch. These hatches are especially crucial in commercial and industrial buildings, allowing workers to perform tasks like equipment installation, repairs, and inspections.
Roof hatches also serve as quick escape routes during fires and other emergencies, functioning as emergency exits. Designed with safety and functionality in mind, they are an essential part of many buildings, especially those with flat roofs.
- Safety: Can come with guardrails and non-slip surfaces for secure access.
- Durability: Made from strong materials like steel or aluminum for lasting use.
- Size Variety: Available in different sizes to suit various access needs.
- Ease of Use: Designed for easy operation with lift assistance.
- Weatherproof: Built to be watertight and insulated, preventing leaks.
- Security Options: Includes features like keyed locks for added protection against unauthorized access.

What Are The Different Types Of Roof Hatches?
Simply put, a roof hatch is a secure and convenient way to access your roof. However, there are a few different types available. To choose the right option for your roof, here is a list of some roof hatches that you can go for:
1. Standard Roof Hatches
Typically made from galvanized steel or aluminum, these hatches allow easy access for personnel. They have a single cover and work well with fixed ladders or stairs, providing a simple solution for maintenance or inspections.
2. Equipment Roof Hatches
Designed for larger equipment, these hatches often have double-leaf configurations to accommodate bulky items. Made from steel, aluminum, or stainless steel, they are essential in commercial settings where machinery needs to be installed or removed from rooftops.
3. Motorized Roof Hatches
Equipped with electric operators, these hatches can be opened and closed remotely. This feature is helpful in high-rise buildings or areas where manual operation is challenging, enhancing convenience and safety by reducing the need for frequent roof access.
4. Thermally Broken Roof Hatches
Built with improved insulation, these hatches minimize heat loss or gain, making them ideal for buildings where energy efficiency is a priority. They often use polyiso insulation and meet specific thermal performance standards, helping maintain comfort and lower energy costs.
5. Sunlit Roof Hatches
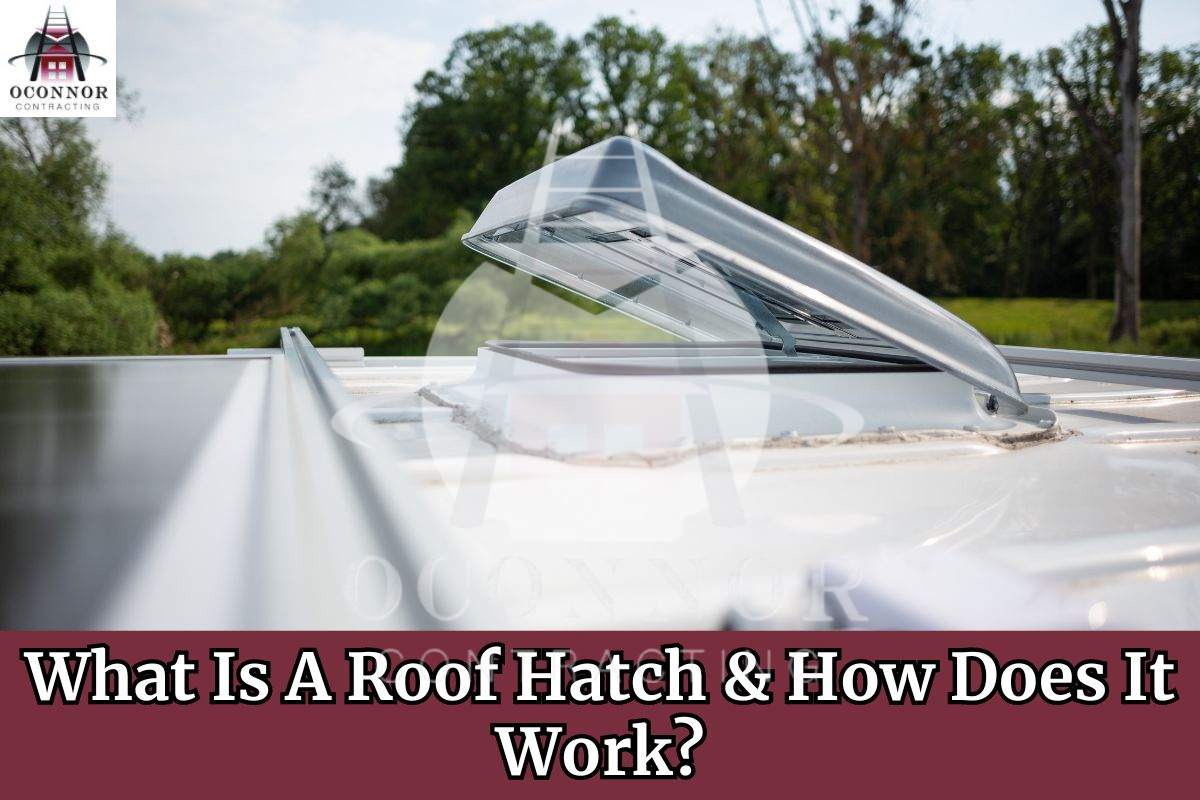
Featuring a clear top and glazing, these hatches let natural light into the space below while still providing roof access. They are often used in commercial buildings that aim to reduce the need for artificial lighting during the day.
What Are Roof Hatches Made Of?
Along with the types, you also want to choose the right roof hatch material for your building.
1. Galvanized Steel
This affordable option features a zinc coating for rust protection. It’s durable and commonly used in commercial settings but requires regular maintenance.
2. Aluminum
Slightly more expensive, aluminum offers excellent corrosion resistance, making it suitable for humid areas. It’s lightweight, easy to operate, and typically requires minimal maintenance.
3. Stainless Steel
Known for strength and corrosion resistance, stainless steel is ideal for harsh environments like chemical plants. Although pricier, its durability makes it a good investment, especially in hygiene-sensitive areas.
4. Copper
Chosen for aesthetics, copper hatches are great for historic buildings and develop a unique patina over time. However, they are costly and less common.
How Does a Roof Hatch Work?
The operation of a roof hatch is quite simple while still ensuring security, ease of use, and protection from the weather. To give you a better idea, here’s a breakdown of how roof hatches work.
#1. Locking Mechanism
Most roof hatches come with a locking system that operates only from the inside. This design
keeps unauthorized people from accessing the roof, keeping the hatch secure when it’s not in use. The locking mechanism can include various types, like solenoid-driven locks or manual key overrides, allowing flexibility for safety during emergencies.
#2. Opening Mechanism
After unlocking, the hatch can be opened manually or automatically. Here’s a quick overview:
Opening and Closing Mechanisms
> Manual Roof Hatches: These hatches open with a handle or latch, similar to a door. They often include gas struts or compression springs to make lifting easy and keep them open during use. This feature is essential for quick roof access, especially in commercial buildings where frequent access is needed.
> Automatic Roof Hatches: Some hatches feature motorized systems that open automatically with a button press. These are typically found in larger buildings or for fire-rated hatches that need quick access during emergencies.
#3. Hold-Open Arm
When the hatch is fully open, a hold-open arm keeps it in place. This feature prevents the hatch from closing accidentally due to wind or other factors, which could be dangerous for anyone accessing the roof. The hold-open arm allows users to move through the hatch safely without having to hold it open manually.
#4. Closing Process
To close the hatch, the user disengages the hold-open arm and lowers the cover gently. Many roof hatches are designed with dampening systems to avoid slamming, ensuring a quiet and controlled closure. This design not only improves user comfort but also protects the hatch and surrounding areas.
#5. Weather Sealing
As the hatch closes, its weatherstripping compresses against the frame to create a tight seal. This sealing feature is important for stopping water, air, and debris from getting into the building. Good weather sealing helps improve energy efficiency and protects indoor spaces from leaks or drafts.
How To Install A Roof Hatch
With the right professional help, installing a roof hatch can be straightforward if you follow these steps:
Step 1: Create a Roof Opening
#1. Measure and Mark: First, figure out the size of the hatch you need based on how you’ll use it. Mark this area on the roof.
#2. Cut the Opening: Use the right tools to carefully cut out the marked section. Make sure the edges are clean and clear of debris.
Step 2: Raise the Upstand
#3. Install Upstand (if needed): Depending on the hatch design, you may need to build an upstand (a raised frame) to support the hatch. This is usually necessary for flat roofs.
#4. Ensure Proper Height: Make sure the upstand is level and positioned correctly to fit the hatch.
Step 3: Attach the Roof Hatch and Test it
#5. Position the Hatch: Place the hatch over the opening, ensuring a snug fit against the upstand or roof.
#6. Secure with Fasteners: Use screws or bolts to attach the hatch, following manufacturer guidelines.
#7. Test Functionality: Open and close the hatch several times to ensure it works smoothly.
Step 4: Connect Roof Insulation and Roofing Material
#8. Insulate: Add insulation around the edges of the hatch and upstand to prevent heat loss and improve energy efficiency.
#9. Seal Gaps: Use weatherproof sealants or gaskets to fill any gaps between the hatch and roof surface, ensuring it stays watertight.
#10. Finish with Roof Covering: Reapply roofing material around the hatch to blend it in with the existing roof, maintaining good weather resistance.
Additional Considerations
Safety Compliance: Follow local safety regulations and fall protection measures from OSHA.
Material Selection: Choose materials suited for your building and local weather.
Professional Help: Consider hiring experienced professionals if you’re unsure about any step.
Are There Different Sizes Of Roof Hatches?
Roof hatches come in various sizes to meet different needs. Some common sizes are:
Standard Sizes
Common Dimensions: Roof hatches typically come in standard sizes like 36 inches by 30 inches, 48 inches by 48 inches, and 32 inches by 72 inches. There are also larger options, such as 5 feet by 11 feet and 8 feet by 5 feet, especially for double-leaf units.
Building Codes: The International Building Code (IBC) requires roof hatches to have a minimum area of 16 square feet. A common size for this requirement is 32 inches by 72 inches.
Considerations for Size Selection
Intended Use: The hatch size depends on what it will be used for. Smaller single-cover hatches work well for people, while larger double-cover hatches are needed for moving equipment.
Type of Building: The building’s type and purpose affect hatch size. Commercial buildings often need larger openings than residential ones. Additionally, how often maintenance is done can also influence the required hatch size.
Get the Right Roof Hatch for Your Building With OConnor Contracting
Now you know that roof hatches are essential for providing safe access to rooftops. If you’re considering installing a roof hatch, it’s important to consult a qualified professional. This way, you can make sure it meets your specific needs and complies with all safety regulations.
When it comes to commercial buildings, OConnor Contracting has years of experience providing the best flat roofing services. We understand the unique challenges of flat roofs and use the best materials and methods for durable, weather-tight solutions. Whether you need minor repairs or a complete replacement, trust us to keep your flat roof in excellent condition. Contact us today at (716) 600-7663 for an instant quote!


